If you've ever opened a 5.1 audio file in Premiere Pro and thought, "What am I even looking at?", you're not alone. Setting up a multichannel timeline can feel like stumbling into a mixing board you didn't know you owned.
I've been there—usually with a tight deadline, a broadcaster breathing down my neck, and Pro Tools files landing in my inbox last minute. This guide shows how I set up 5.1 workflows that don't fall apart under pressure.
TL;DR:
Creating a proper 5.1 timeline in Premiere Pro is essential for efficient post-production. This tutorial walks through how to create timeline and export presets, map channels correctly, and prep for both audio post and client review.
Step 1: Create a 5.1 Timeline Preset
1: Create a 5.1 Timeline PresetChange Editing Mode to Custom
Set Preview Format to QuickTime > ProRes 422 LT
Under Tracks, switch Master to Multichannel, and configure 8 mono outputs
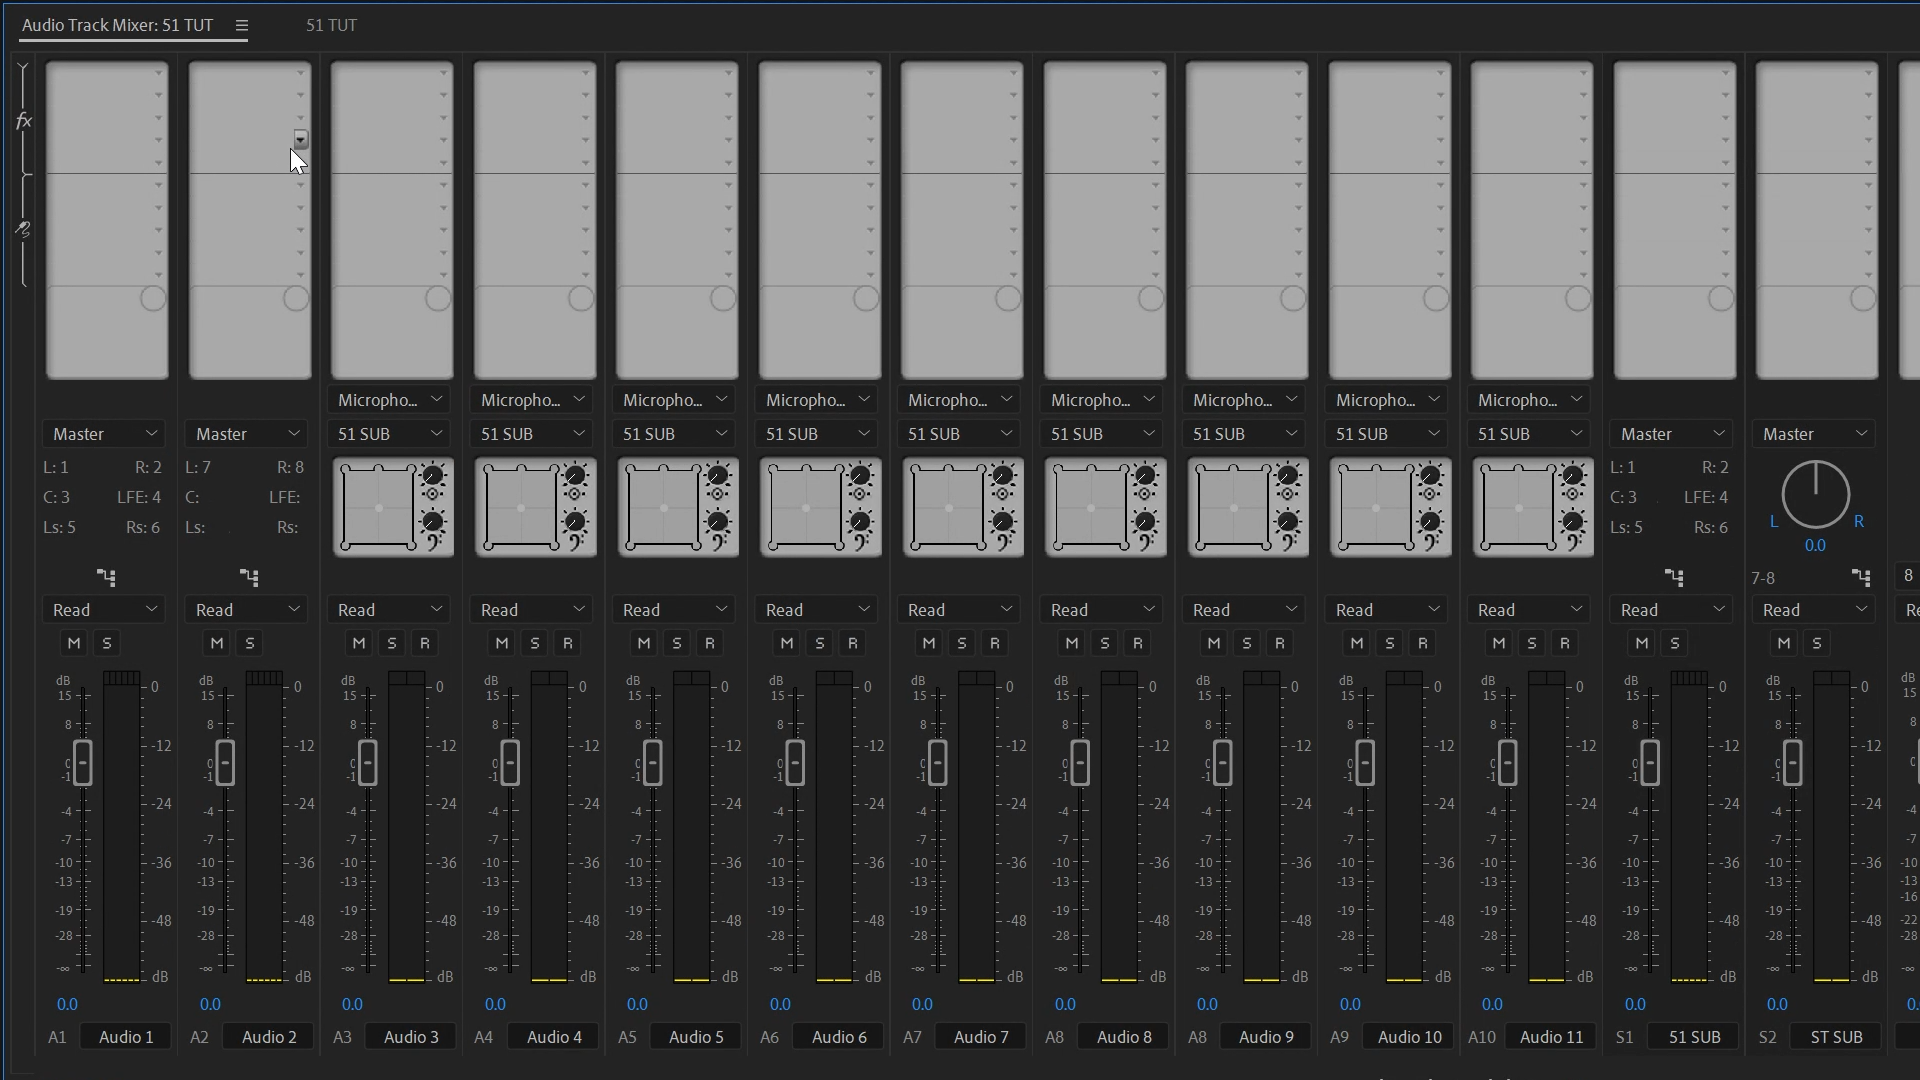
Step 2: Build Out Your Audio Tracks
This is how I set up my audio tracks so they're useful at every stage of the pipeline:Tracks 1–2: Reserved for full 5.1 mixes coming back from audio post (set to 5.1)
Tracks 3–10: Set to Standard — great for dropping in VO, effects, or stereo clips
Audio 11: 5.1 Submix — your surround output
Audio 12: Stereo Submix — for fold-down monitoring and review files
Why do this? It keeps your mix structured, visible, and flexible—no rework needed when you go to deliver.
Step 3: Save the Preset
Save this entire setup as a custom preset. I name mine something simple like "5.1 TUT Preset."
Now any time you start a new project, you're not building from scratch—you're starting with a fully loaded surround rig.
Why Set It Up This Way?
Because Premiere locks you out of certain timeline settings after creation. You can't go from stereo to multichannel after the fact. If you don't build this properly from the start, your timeline becomes a one-way street.
Exporting to Audio Post
When you're done editing and ready to hand things off:
Go to File > Export > OMF or AAF
Use 48kHz, 24-bit
Embed audio with 900-frame handles
I prefer OMF because it reimports cleanly into Adobe Audition—but either works.
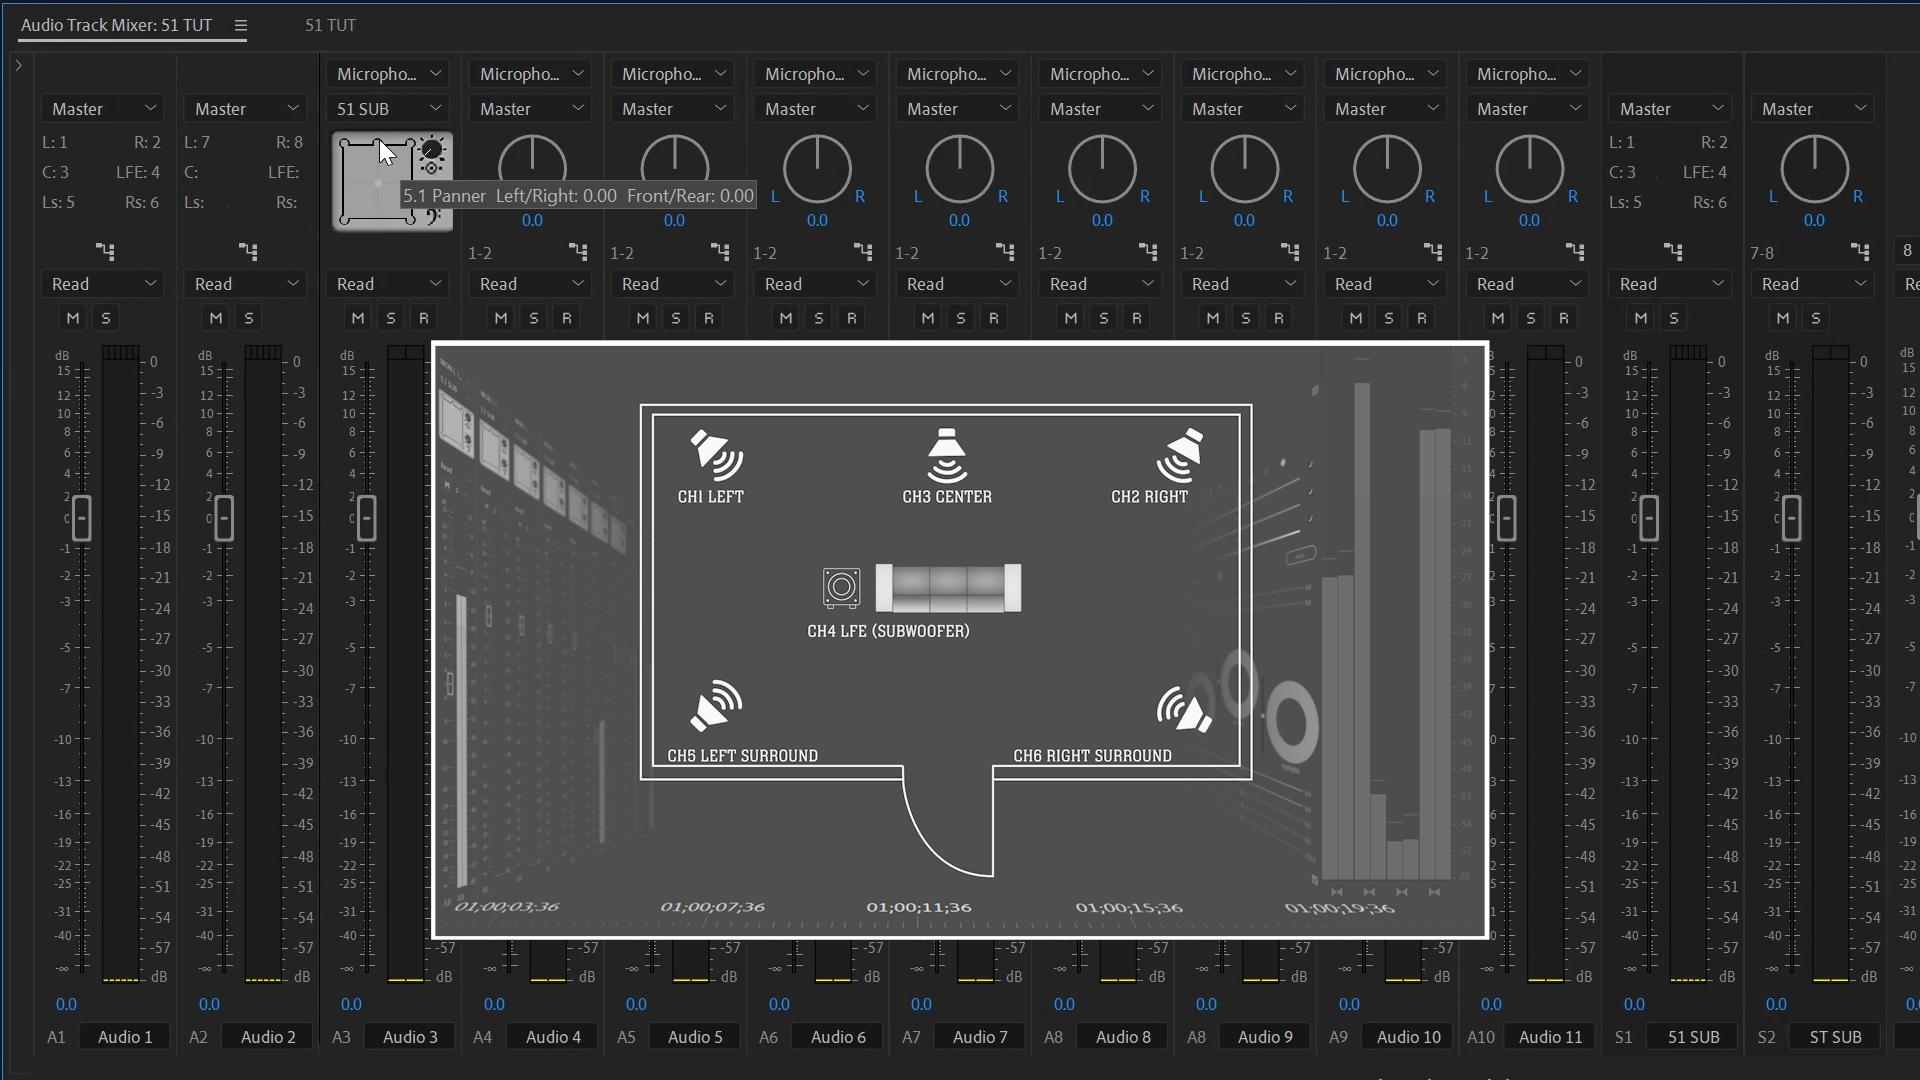
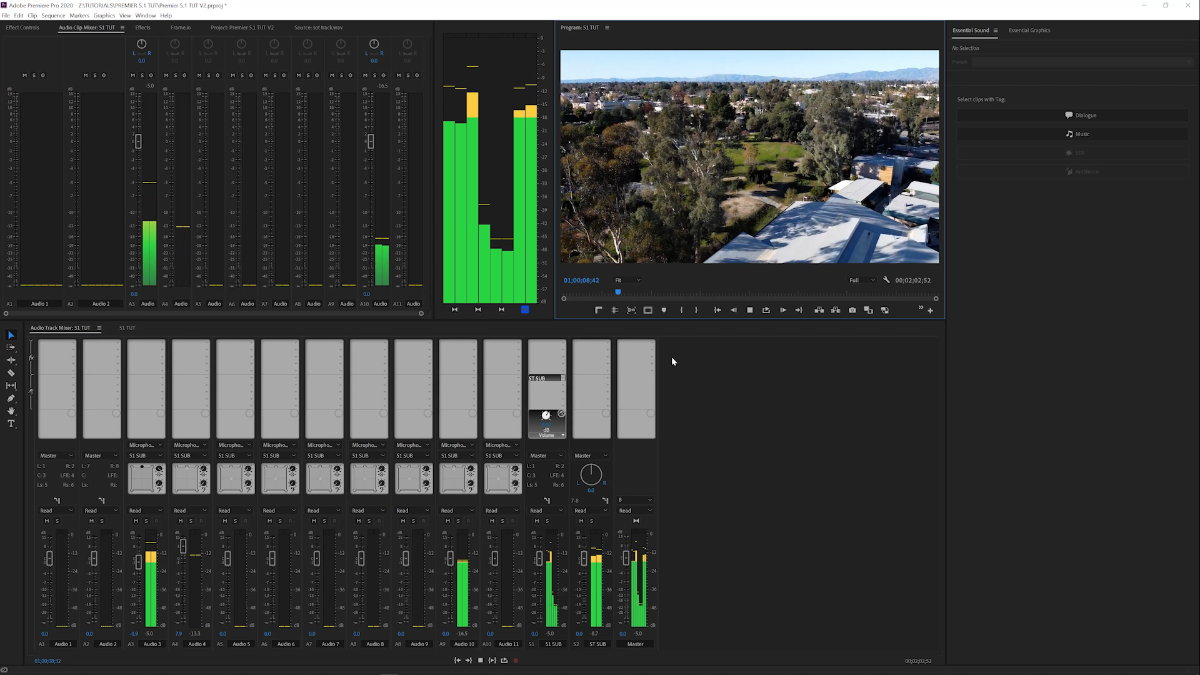
Stereo Monitoring on a 5.1 Timeline
Even if you don't have rear speakers or a full surround rig, this setup lets you monitor your timeline using just channels 7 and 8 (your stereo mixdown).
Key Takeaway: If you create a smart timeline at the start, your audio pipeline will hold together all the way to delivery. It saves time, avoids remapping chaos, and makes you look like a pro.
CTA: Read Part 2 to learn how to actually mix in 5.1, monitor with confidence, and send great-sounding previews even on stereo speakers.